

Introduction to Autodesk Fusion: From Idea to 3D Model

Introduction to Autodesk Fusion: From Idea to 3D Model course

Introduction to Autodesk Fusion: From Idea to 3D Model
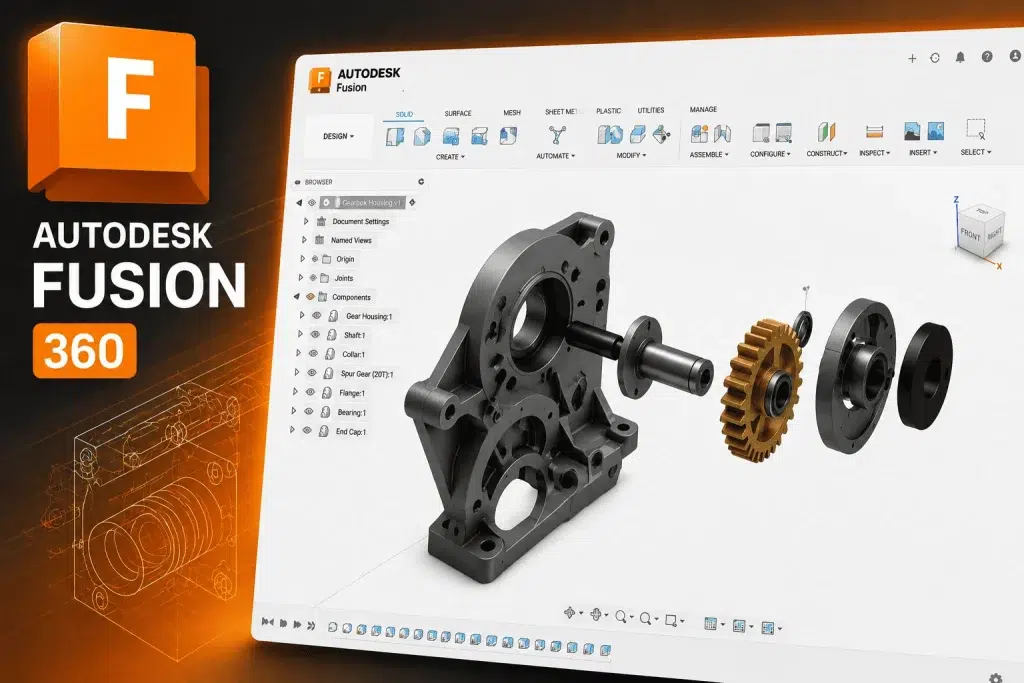
The programme is a comprehensive introduction to Autodesk Fusion, also known as Fusion 360, with an emphasis on the parametric design of objects and products. Participants will learn to turn an initial idea or a technical drawing into an accurate 3D model. Through practical exercises, they will become familiar with creating sketches, solid bodies, parts and simple assemblies. The programme concludes with the design of a functional object, its export for 3D printing and, where possible, printing it on an FDM printer.

Also in this category: Introduction to Translation Technologies: Economy and Society · Modern Technology Tools and Boosting Productivity

Upon completion of the programme, participants will be able to:

  • Use the Autodesk Fusion workspace
  • Create accurate, fully defined 2D sketches
  • Build parametric 3D models
  • Use basic and advanced solid modelling features
  • Organise a project with bodies and components
  • Create simple assemblies and moving mechanisms
  • Design objects with correct dimensions and tolerances
  • Prepare models for 3D printing
  • Export STL, 3MF and STEP files
  • Complete a functional product from the initial idea to fabrication

The programme is aimed at:

  • Beginners with no previous CAD experience
  • Design, engineering and architecture students
  • Product designers and 3D artists
  • Makers and digital fabrication professionals
  • 3D printer users
  • Professionals who want to design prototypes, parts or products

No previous knowledge of 3D modelling is required. Basic familiarity with using a computer is required.

Lesson Title Topics
1 Introduction to CAD and Autodesk Fusion
  • Basic principles of CAD and parametric design
  • The interface and main workspaces
  • Navigation, ViewCube and object selection
  • Creating and managing projects
  • Bodies, components and construction geometry
  • First exercise with simple geometric primitives
2 Sketching Basics
  • Creating sketches on planes and faces
  • Lines, rectangles, circles, arcs and polygons
  • Dimensions and geometric constraints
  • Fully constrained and under-constrained sketches
  • Trim, extend, offset and construction lines
  • Designing a simple mechanical profile
3 Advanced Sketching and Parameters
  • Project and intersect geometry
  • Mirror and sketch patterns
  • Slots, splines and complex profiles
  • User parameters and parametric dimensions
  • Designing models that adapt to changes
  • Creating a parametric part
4 Creating Solid Models
  • Extrude and Press Pull
  • Revolve
  • Sweep and Loft
  • Join, Cut and Intersect operations
  • Creating new bodies and components
  • Modelling an object from a dimensioned drawing
5 Editing and Detailing Models
  • Fillet and Chamfer
  • Shell, Draft and Hole
  • Mirror and Pattern features
  • Move, Copy, Align and Scale
  • Design History and editing previous steps
  • Fixing common modelling errors
6 Components and Assemblies
  • The difference between a body and a component
  • Creating and organising components
  • Assembly structure
  • Joints and joint origins
  • Rigid, revolute and slider joints
  • Creating a simple mechanism with moving parts
7 Design for 3D Printing
  • Basic principles of Design for Additive Manufacturing
  • Wall thickness and minimum dimensions
  • Tolerances and clearances
  • Designing snap fits, holes and connecting parts
  • Model orientation and minimising supports
  • Checking and fixing the model before export
8 Technical Presentation and Export
  • Applying materials and appearances
  • Rendering basics
  • Exploded views and simple assembly presentation
  • Creating basic technical drawings
  • Dimensions and annotations
  • Exporting STEP, STL and 3MF files
9 Final Project: Design Participants start designing a functional
object, such as:

  • A small box or electronics enclosure
  • A mobile phone stand
  • A desk organiser
  • A mechanical part
  • An object with two interlocking parts

This includes requirements analysis, basic dimensions,
sketches and initial modelling.

10 Project Completion and Fabrication
  • Completing and correcting the model
  • Checking dimensions and tolerances
  • Preparing the file for 3D printing
  • Introduction to the slicer and checking the print
  • Presentation of the final projects
  • Recap and suggestions for further practice

Certificate of attendance from the Employment Development Institute, a Lifelong Learning Centre certified by EOPPEP & the Ministry of Education.

Methodology

Duration: 30 hours
Format: Distance learning

Expression of Interest Form

Completing and sending this form to the Employment Development Institute does not create any obligation or commitment to cooperation.

Share:

This website uses automatic translation to provide translations for your convenience.
Please note: Automatic translations may be inaccurate.
We are not liable for errors.

Skip to content